Introduction:
For electronics enthusiasts and beginners, breadboards are a must-have tool. They empower you to prototype and experiment with circuits easily, eliminating the need for soldering. In this tutorial on how to use a breadboard, I will guide you through the breadboard basics, from understanding its layout to constructing simple circuits.
Understanding the Breadboard Layout:
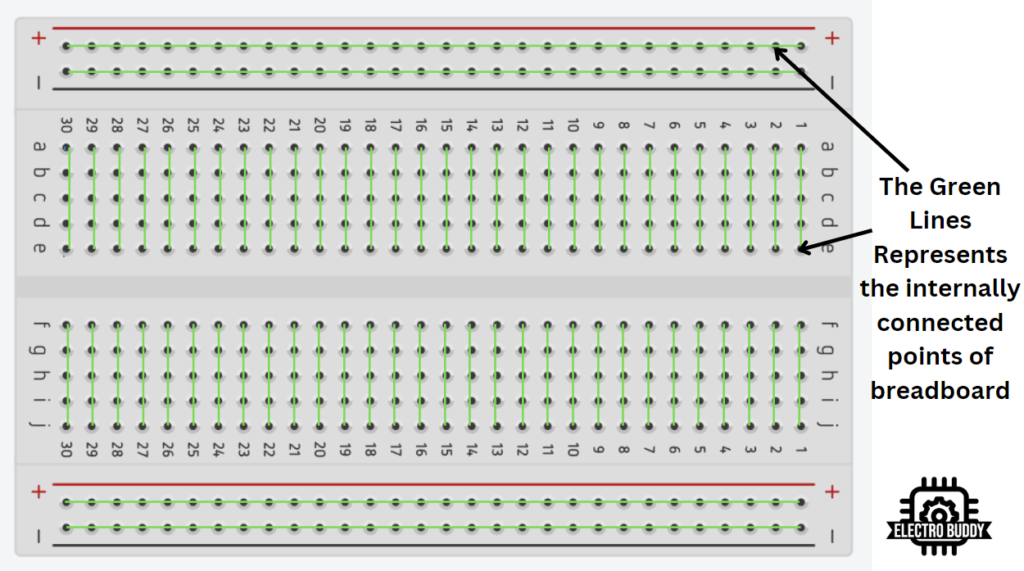
Let’s begin by exploring the breadboard layout before we dive into circuit building. A breadboard consists of a grid of holes and metal clips beneath them, facilitating seamless circuit construction.
Internally, the breadboard’s metal clips interconnect in specific patterns, Divided into two sections, typically separated by a central trench, the breadboard offers a top and bottom half.
Within each row and column, you’ll find multiple holes to accommodate component connections.
Refer Following Image to understand the breadboard’s internal connectivity
Power Rails and Ground Rails:
Power rails is an very important part of the breadboard to establish the necessary voltage and ground connections for your circuit. Running alongside the entire length of the breadboard, you’ll find two power rails conveniently labeled as “+ (positive)” and “- (negative)” or “VCC” and “GND.” These power rails serve as the primary means to distribute power to various components in your circuit.
By utilizing these power rails, you can seamlessly supply power to your circuit elements. The positive rail, also known as VCC, provides the positive voltage, while the negative rail, labeled as GND, acts as the ground reference. These power rails ensure a reliable and organized distribution of power, allowing your components to function optimally.
Now that we have an understanding of the crucial role played by power rails, we are ready to delve deeper into building circuits on the breadboard.
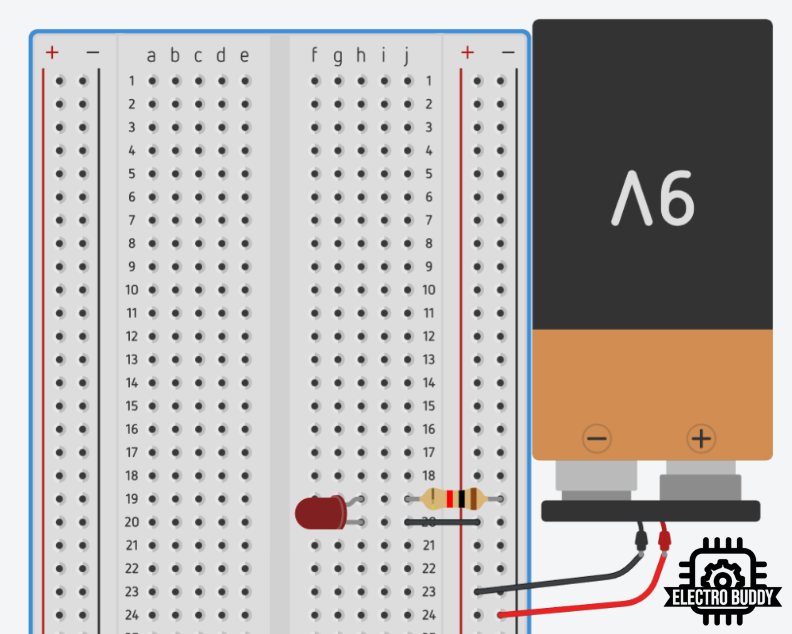
Following Image shows the battery connected to the power rails of a breadboard

Inserting Components:
Inserting components into the breadboard is an fairly easy task. Gently push the leads of your component into the designated holes on the breadboard.
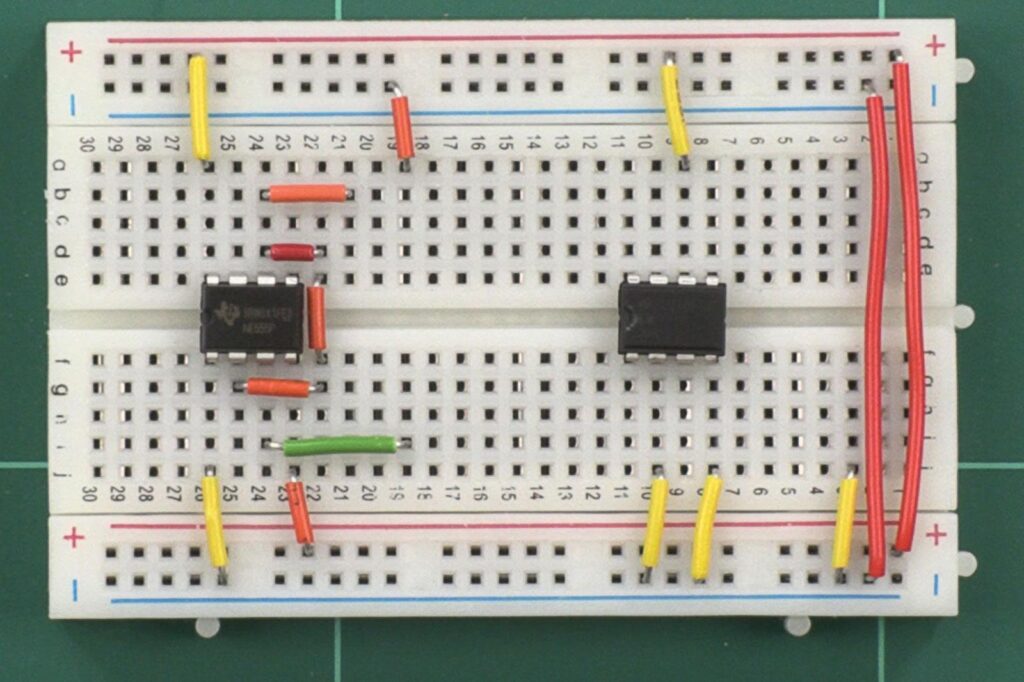
Refer following images to see how different types of components are inserted in a breadboard.

Connecting Components:
Breadboards allow you to connect components using jumper wires. To establish connections, insert one end of a jumper wire into a hole on one component and the other end into a hole on another component or the desired point in the circuit. Ensure that the wire fits snugly into the hole to establish a good connection.
Building a Simple LED Circuit:
Let’s build a basic circuit using an LED and a resistor. Follow these steps:
- Insert the LED into the breadboard. Ensure that the longer lead (the positive or anode) is connected to the top power rail, and the shorter lead (the negative or cathode) is connected to the row right below it.
- Insert a resistor connecting it to the same column as the short lead of the LED.
- Connect one end of the resistor to the short lead of the LED using a jumper wire.
- Connect the other end of the resistor to the bottom power rail, completing the circuit.
Verifying and Testing:
After successfully building your circuit, it’s time to put it to the test! Begin by connecting a power source, such as a battery or a power supply, to the power rails of the breadboard. This step will provide the necessary voltage to your circuit.
If your circuit has been correctly assembled, you should see the LED light up, signaling its proper functionality. This simple test confirms that your circuit is working as intended, allowing you to proceed with confidence to further experimentation or implementation.
Experimenting and Prototyping:
Breadboards provide a flexible platform for experimenting with various components and circuit configurations. You can easily add or modify components on the breadboard to test different ideas and create prototypes.
Conclusion:
Congratulations! You’ve learned the basics of using a breadboard for your electronics projects. Remember to follow safety precautions, double-check your connections, and have fun exploring the world of circuitry. With practice, you’ll be able to build more complex circuits and bring your ideas to life. Happy tinkering!
I hope you liked this article please share your thoughts with us through comments, don’t forget to follow us on Facebook and Instagram and do subscribe to our Youtube Channel.
you can read our privacy policy here, to know more about ElectroBuddy and it’s vision read about us.
👍👍
Thanks, Stay tuned for more.